← All Fusion workflows
Intermediate workflowFastNoiseCorner PositionerTrackerMatte ControlBlur2D

Create Atmospheric Fog with 2D Nodes in Fusion

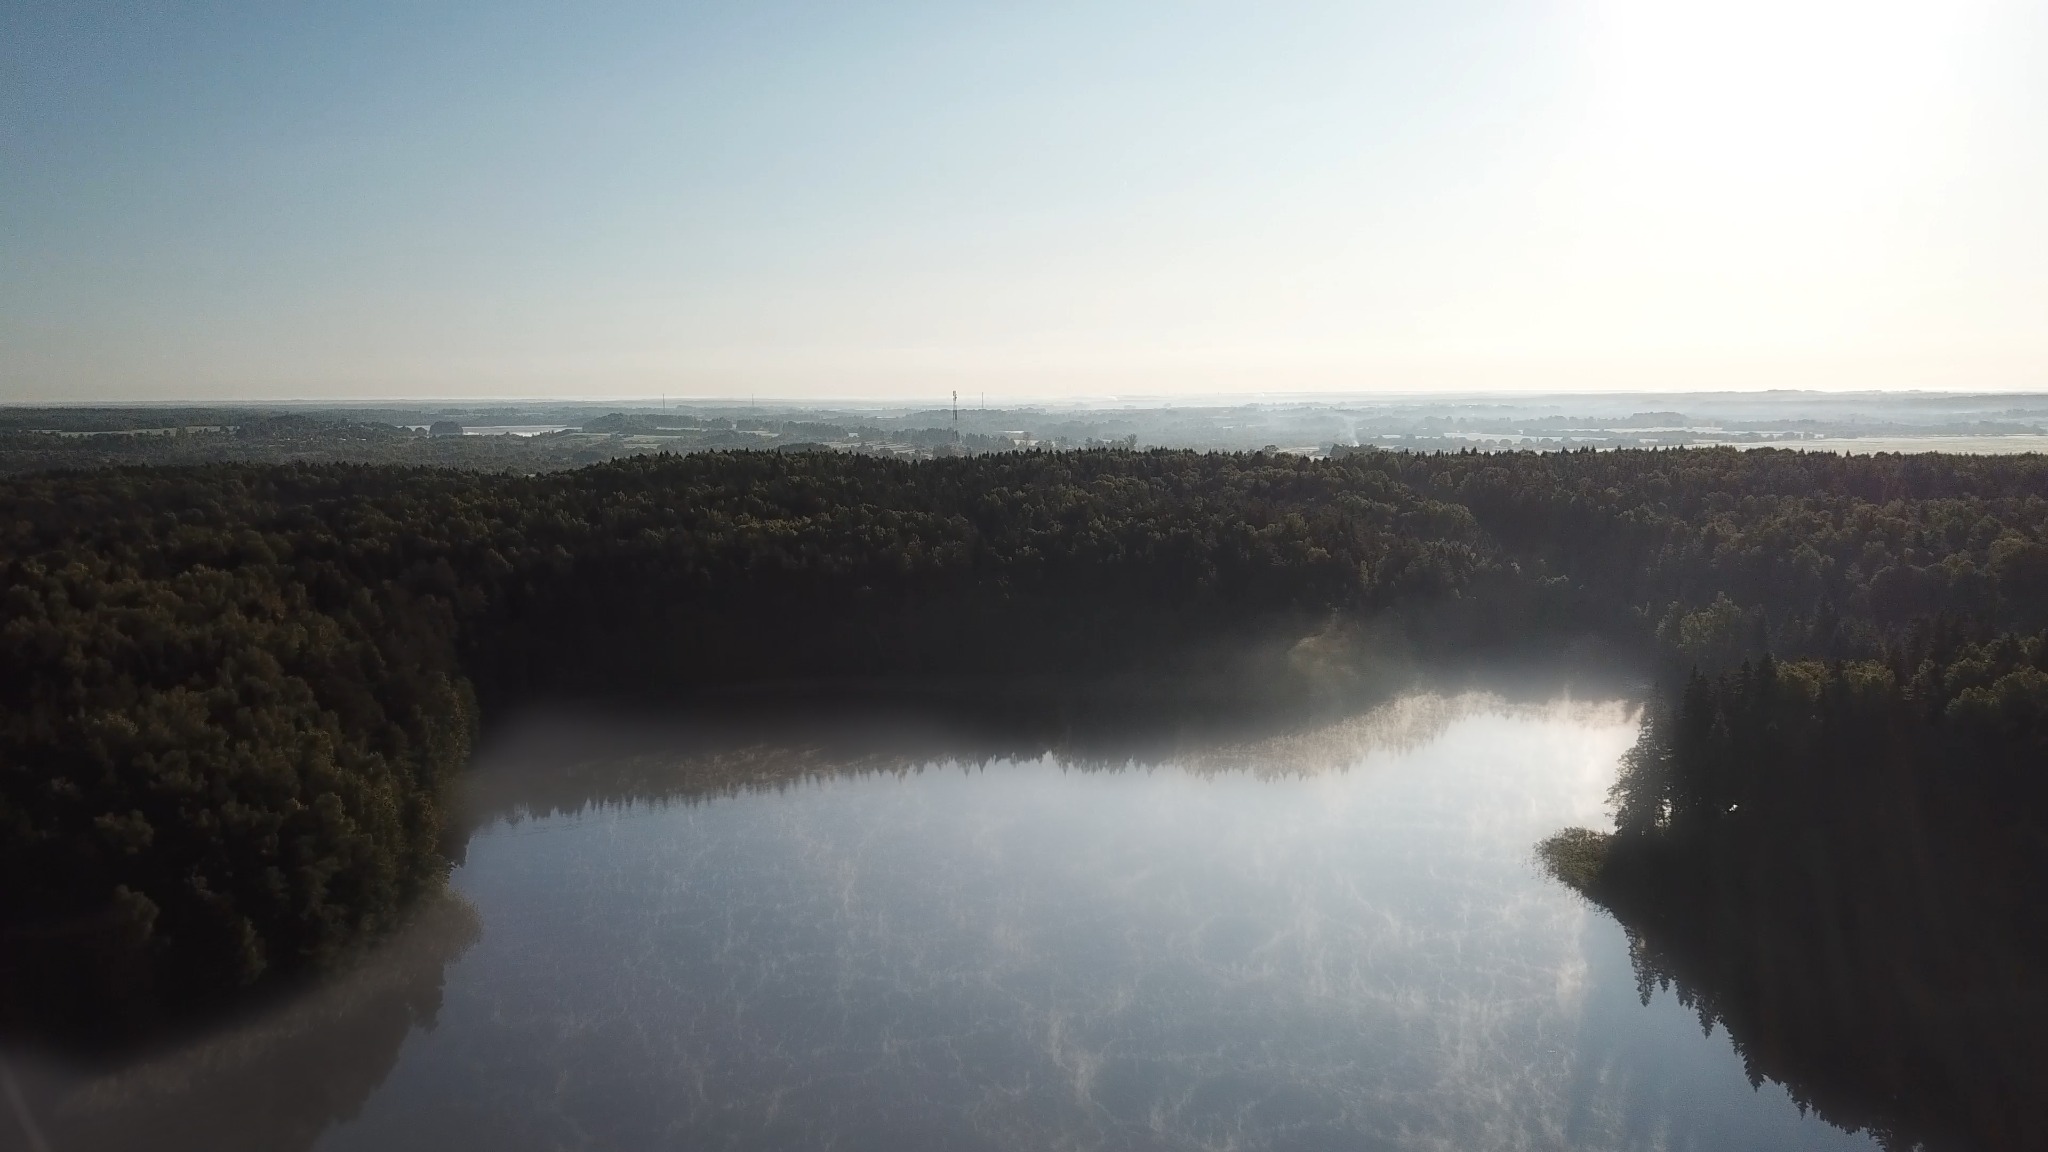
This workflow adds believable low atmospheric haze to a landscape using only standard 2D Fusion compositing. FastNoise creates the irregular fog texture, Background defines tone and opacity, Corner Positioner lays the layer across the lake surface, and Tracker keeps it attached to the scene as the camera moves. Polygon and Matte Control restrict the effect to the intended area, Blur softens the original image inside that region, and Merge assembles the treated and untreated branches.

Final result: Create Atmospheric Fog with 2D Nodes in Fusion

Why this graph is built this way

Workflow logic

A flat procedural layer is more efficient here than particles or a full 3D scene. Distant fog does not need volumetric lighting, particle rendering or a Fusion 3D camera. Corner Positioner supplies perspective, Tracker compensates camera motion, and depth is suggested with a soft matte plus localized background blur. The graph stays fast, controllable and suitable for ordinary video clips.
Node tree

Connection diagram

The cable colors follow Fusion conventions: blue is an Effect Mask, neutral lines carry images, and colored ports indicate specific node inputs. Node-page links are intentionally disabled on the English diagram until the matching Fusion Encyclopedia pages are translated.

Node order

How to read the chain

1

FastNoise1 → Background1

Connect FastNoise to the blue Effect Mask of Background1. It breaks the flat fill into irregular translucent clouds. Background controls fog color and density; FastNoise supplies the natural structure.

2

Background1 → CornerPositioner1

Corner Positioner deforms the flat fog layer to follow the lake plane. Perspective compression makes the far side thinner and the near side wider so the layer stops looking like a flat overlay.

3

CornerPositioner1 → Tracker1

After perspective placement, the fog passes through Tracker. IntelliTrack analyzes scene motion and the resulting path keeps the haze on the same part of the landscape as the camera shifts.

4

Polygon1 + Tracker1 → MatteControl1

Polygon manually separates water and low ground from sky, forest and foreground. It is used as an inverted Garbage Matte in Matte Control so the effect remains only where it is needed.

5

MediaIn1 + MatteControl1 → Blur1

Feed the original video to Blur1 and use Matte Control as Effect Mask. Blur affects only the fog area and lowers local contrast in the distance, which is an important cue of real atmospheric haze.

6

MatteControl1 + Blur1 → Merge1

Merge1 combines the treated branch with the source. The procedural haze adds visible atmosphere while Blur modifies the scene underneath it, helping the effect feel spatial rather than painted on.

7

Merge1 → MediaOut1

MediaOut receives the final shot with tracked haze, locally reduced contrast and untouched detail outside the selected region.

Result

What the shot looks like

A soft haze appears over the lake and remains anchored to the landscape without covering the sky or foreground. Perspective stretching, a controlled matte and localized background blur make the fog feel integrated into the original scene.

When to use it

Where it works

  • Landscapes with lakes, rivers, forests, fields and low valleys.
  • Adding depth and atmospheric perspective to drone shots.
  • Creating morning haze without a 3D scene or particle simulation.
  • Mystical, tense or cinematic shots that need more atmosphere.
  • Fast composites that should render more efficiently than full volumetric fog.

Node parameters

What changes from the defaults

FastNoise1 / Background1

FastNoise creates the fog texture and masks Background. Exact noise values can change with shot scale, but the structure should stay broad and soft rather than becoming fine digital grain.

  • FastNoise → Background1 Effect Mask
  • Use a broad Scale and relatively low Detail
  • Keep Contrast moderate to avoid isolated white blobs
  • Use a light gray or slightly cool Background color
  • Reduce Background Alpha to a translucent level

CornerPositioner1

Corner Positioner sets fog geometry. Match its four corners to the water or ground plane so the layer narrows toward the horizon instead of standing up like a vertical wall.

  • Place the upper corners closer together near the horizon
  • Spread the lower corners across the width of the fog zone
  • Do not extend the plane beyond the Polygon matte unless necessary
  • Judge perspective on moving footage, not only a still frame

Tracker1

Tracker uses IntelliTrack on a stable high-contrast landscape detail. Its purpose is camera-motion compensation, not fog generation.

  • Tracker: IntelliTrack 1
  • Pattern Time: 116
  • Pattern Width: 0.03
  • Pattern Height: 0.0534
  • Track a stable scene detail rather than water, clouds or the fog itself

Polygon1 / MatteControl1

Polygon cuts the complex forest/water boundary. A soft edge avoids a visible matte seam, and Matte Control combines the tracked layer and Garbage Matte into one signal.

  • Polygon Soft Edge: 0.0205
  • Polygon Invert: enabled
  • Matte Control Clipping Mode: Domain
  • Polygon1 connected to Garbage Matte
  • Tracker1 connected to Matte Control Background

Blur1

Blur affects the source only inside the fog matte. A translucent texture alone is not enough: real haze also reduces sharpness and local contrast in distant objects.

  • Filter: Fast Gaussian
  • Blur Size: 13.4
  • Blend: 0.945
  • Input: MediaIn1
  • Effect Mask: MatteControl1.Output

Merge1

Merge combines the original shot and atmospherically treated region. Adjust final density mainly with Background and Merge rather than pushing Blur too far.

  • Background: MatteControl1.Output
  • Foreground: Blur1.Output
  • Merge1 output → MediaOut1
  • If the result is too dense, reduce fog Background Alpha first

Common mistakes

What not to break

  • Do not make FastNoise too fine or contrasty or the fog will reveal itself as a procedural texture.
  • Do not leave Background fully opaque; it will turn into a white plate and erase landscape detail.
  • Do not skip Corner Positioner. Without perspective, fog looks like a flat vertical layer over the frame.
  • Do not track water, clouds or the fog itself; Tracker needs a stable landscape feature.
  • Avoid a hard Polygon edge or the matte boundary will become visible along the forest or water line.
  • Do not blur the whole frame. Blur must be restricted to the fog region or the depth cue disappears.
  • Do not maximize both fog opacity and Blur at the same time or the scene becomes milky and loses natural contrast.